

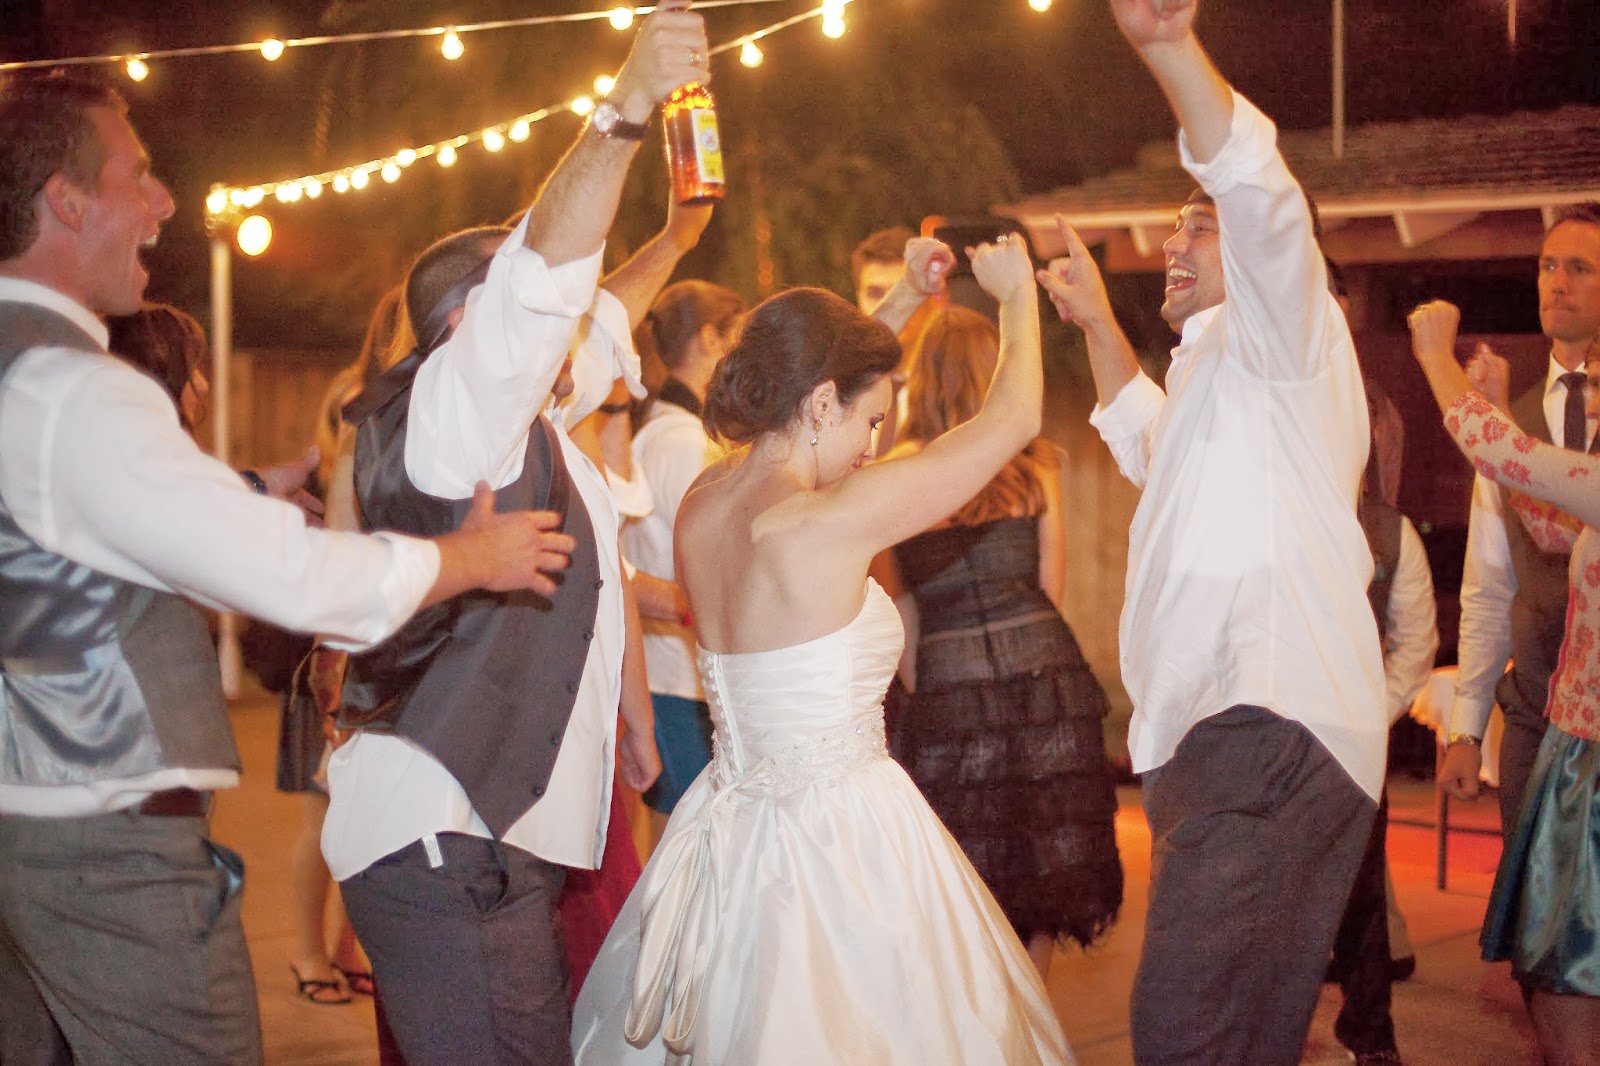
It's no secret that my husband and I love, love, love to dance at weddings. I think a lot of people get nervous to look goofy, but there is no more perfect a time to look goofy than when everyone is so filled with joy for the newlyweds. Even the bride and groom, who might normally be shy or embarrassed, are so excited to be surrounded by family and friends and are so relieved that it's over, that they will get their groove thang on.
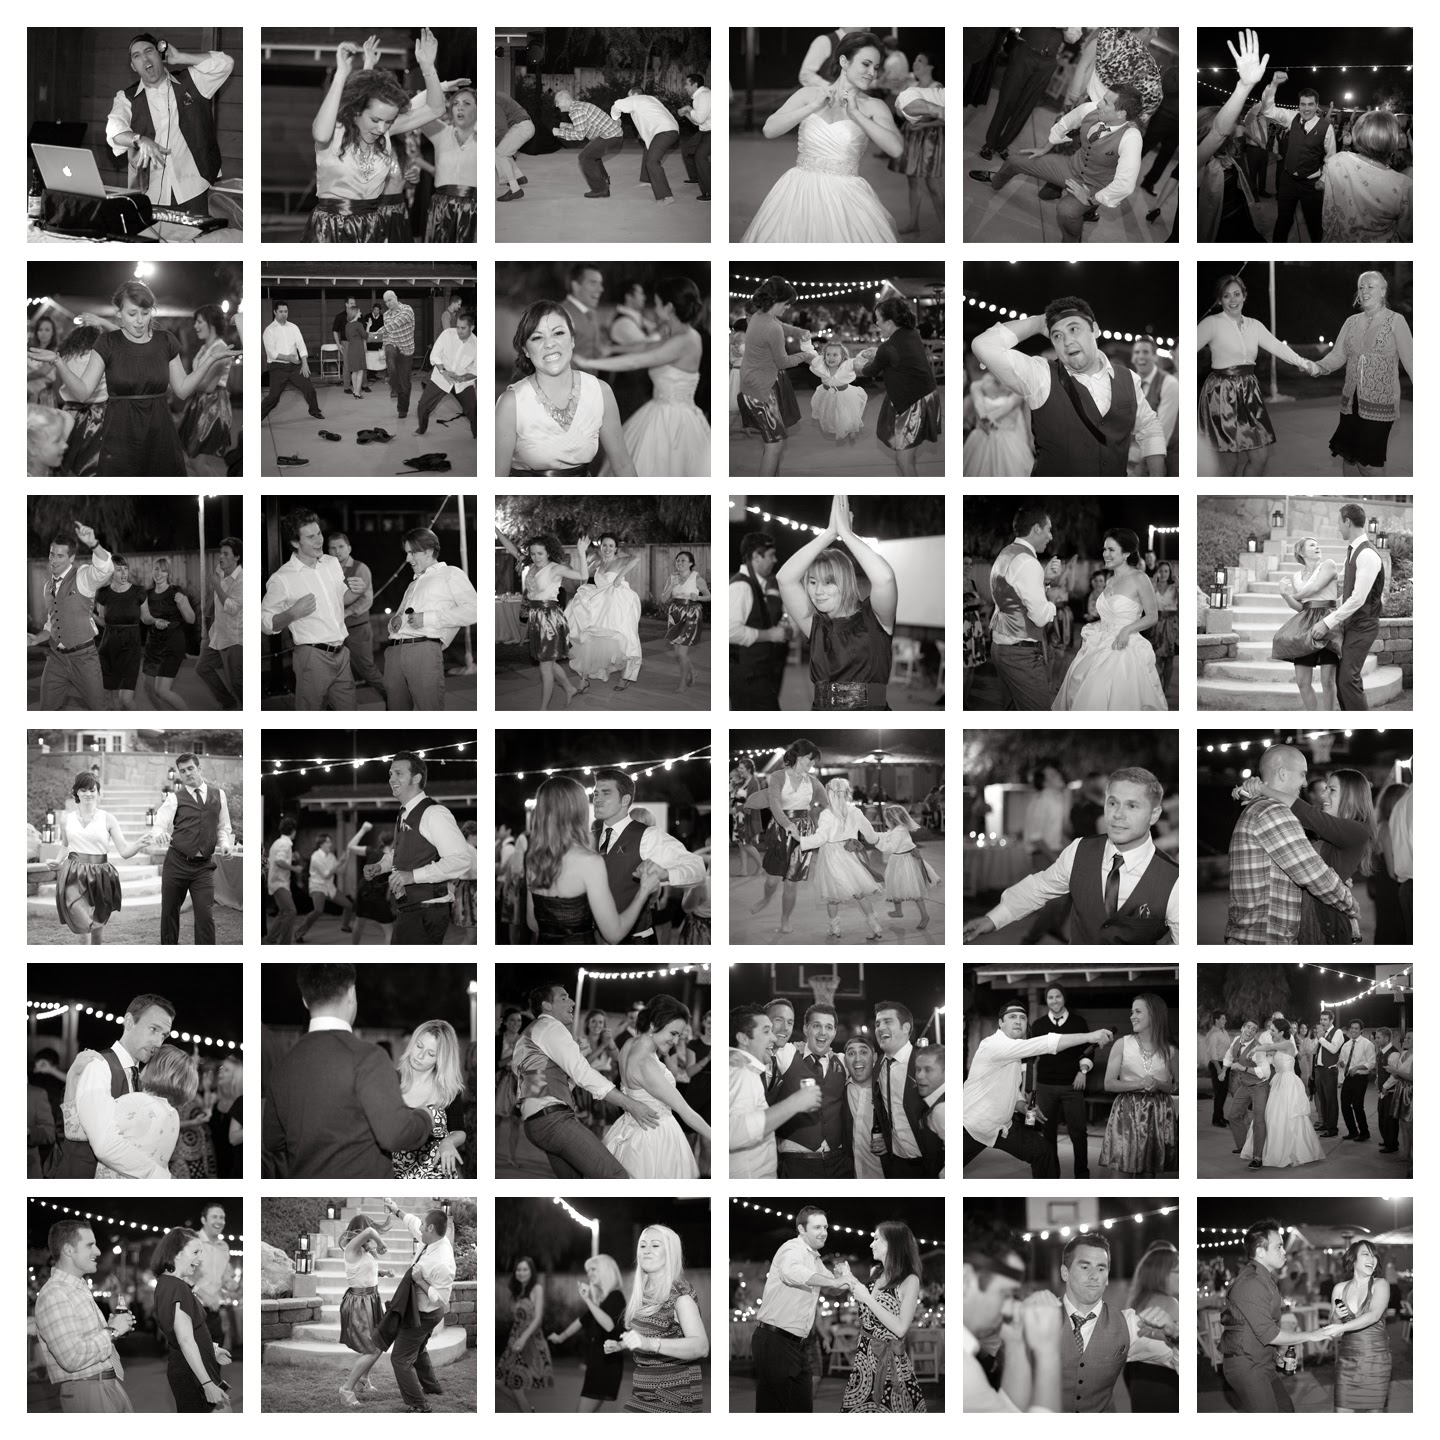
What's awesome about dancing, is that everyone has a 'dancing face.' And it's usually hilarious. I loved the dancing at our wedding. I was filled with joy looking around and seeing friends and family filled with freedom to be themselves, have fun, and celebrate. I had a fabulous wedding photographer in Heather Pepin, who captured so many hilarious moments from the Greene Blue Wedding Dance Floor.
I turned these dancing photos into a collage for our apartment so that we could see these silly faces everyday. It brings me joy every time I look at it. So yes, if you danced at our wedding, there is probably a picture of you and your dancing face on a wall in my kitchen. You're welcome.
Here's how I did it:
(disclaimer: I am no expert at Photoshop and had to learn as I went, this is definitely beginner stuff)
1. Make a folder of all of your favorite dancing photos
2. Decide on what frame you will use. I chose a large square frame in gray, from Ikea's Ribba frame collection. Without the mat the frame is 19.75 x 19.75 inches.
3. Decide on how many photos you want to use, and work out the math to decide on how many rows and how many columns of photos you want. Since I chose a square frame, I needed a number that divided equally. After playing around with it, I decided on 6 photos across and 6 photos down, for a total of 36 photos. After playing with the calculater, it worked to do each photo as a 3x3 inch square, with .25 inches as a border and between each photo. That's 18 inches in photos total, and 1.75 inches in borders.
1. File > New. Type in your individual photo size, which is 3x3 inches. File > Place to select which photo you want. Adjust the photo to fit in the square as you want it. I wanted a variety, so I did some photos centered, some off-centered, some zoomed in close, and some zoomed out wide. Mix it up. (Just like dancing:) Very important: choose the same filter for each photo. I wanted all of mine black and white, and I went with the green filter in black and white. Using the same filter will bring uniformity to the photos. Save that photo into your folder, and number it. Repeat with all photos you'd like to use. You end up with a folder full of 3x3 inch photos ready to go into your collage.
2. To create your collage, go to File > New, and make your image size 19.75 x 19.75.
3. Set gridlines to space your photos evenly: go to View > New Guide and create the following for BOTH horizantal and vertical:
.25
3.25
3.5
6.5
6.75
9.75
10
13
13.25
16.25
16.5
19.5
4. Place all photos within the gridlines. File > Place, and select photo. Click it into the box where you want it. Try to vary the photos distances and content. Place photos that are far away with photos that are up close, photos with one person next to group photos, etc.
And there's your collage! If you'd like to rework the photos, continue to 'place' them on top of each other. Once all photos are placed where you want them, go back to the View drop down and remove the gridlines.

Printing and Framing:
Just because you chose a frame at a certain size, doesn't mean that photo-printing websites will print it at that size. I order my photos from Costco, and the closest size they will print is a 20 x 30. After saving your collage, go to Image > Canvas Size and change it to the size that the website will print. I ended up with a photo that is 19.75 x 19.75 inches on a white background "canvas" that is 20 x 30 inches.
2. To create your collage, go to File > New, and make your image size 19.75 x 19.75.
3. Set gridlines to space your photos evenly: go to View > New Guide and create the following for BOTH horizantal and vertical:
.25
3.25
3.5
6.5
6.75
9.75
10
13
13.25
16.25
16.5
19.5
4. Place all photos within the gridlines. File > Place, and select photo. Click it into the box where you want it. Try to vary the photos distances and content. Place photos that are far away with photos that are up close, photos with one person next to group photos, etc.
And there's your collage! If you'd like to rework the photos, continue to 'place' them on top of each other. Once all photos are placed where you want them, go back to the View drop down and remove the gridlines.
Printing and Framing:
Just because you chose a frame at a certain size, doesn't mean that photo-printing websites will print it at that size. I order my photos from Costco, and the closest size they will print is a 20 x 30. After saving your collage, go to Image > Canvas Size and change it to the size that the website will print. I ended up with a photo that is 19.75 x 19.75 inches on a white background "canvas" that is 20 x 30 inches.

I simply cut it down to my frame size, and framed it up!
I
also found a sweet little greeting card at Trader Joes (thanks to my
sister for letting me grab the last one!), framed it, and hung it with my collage.
  |
| handsome hubby (he didn't wear socks to our wedding apparently) |


